Showing posts with label Labs. Show all posts

Sunday, May 12, 2013

Speed of Hot Wheel Cars

April 17th

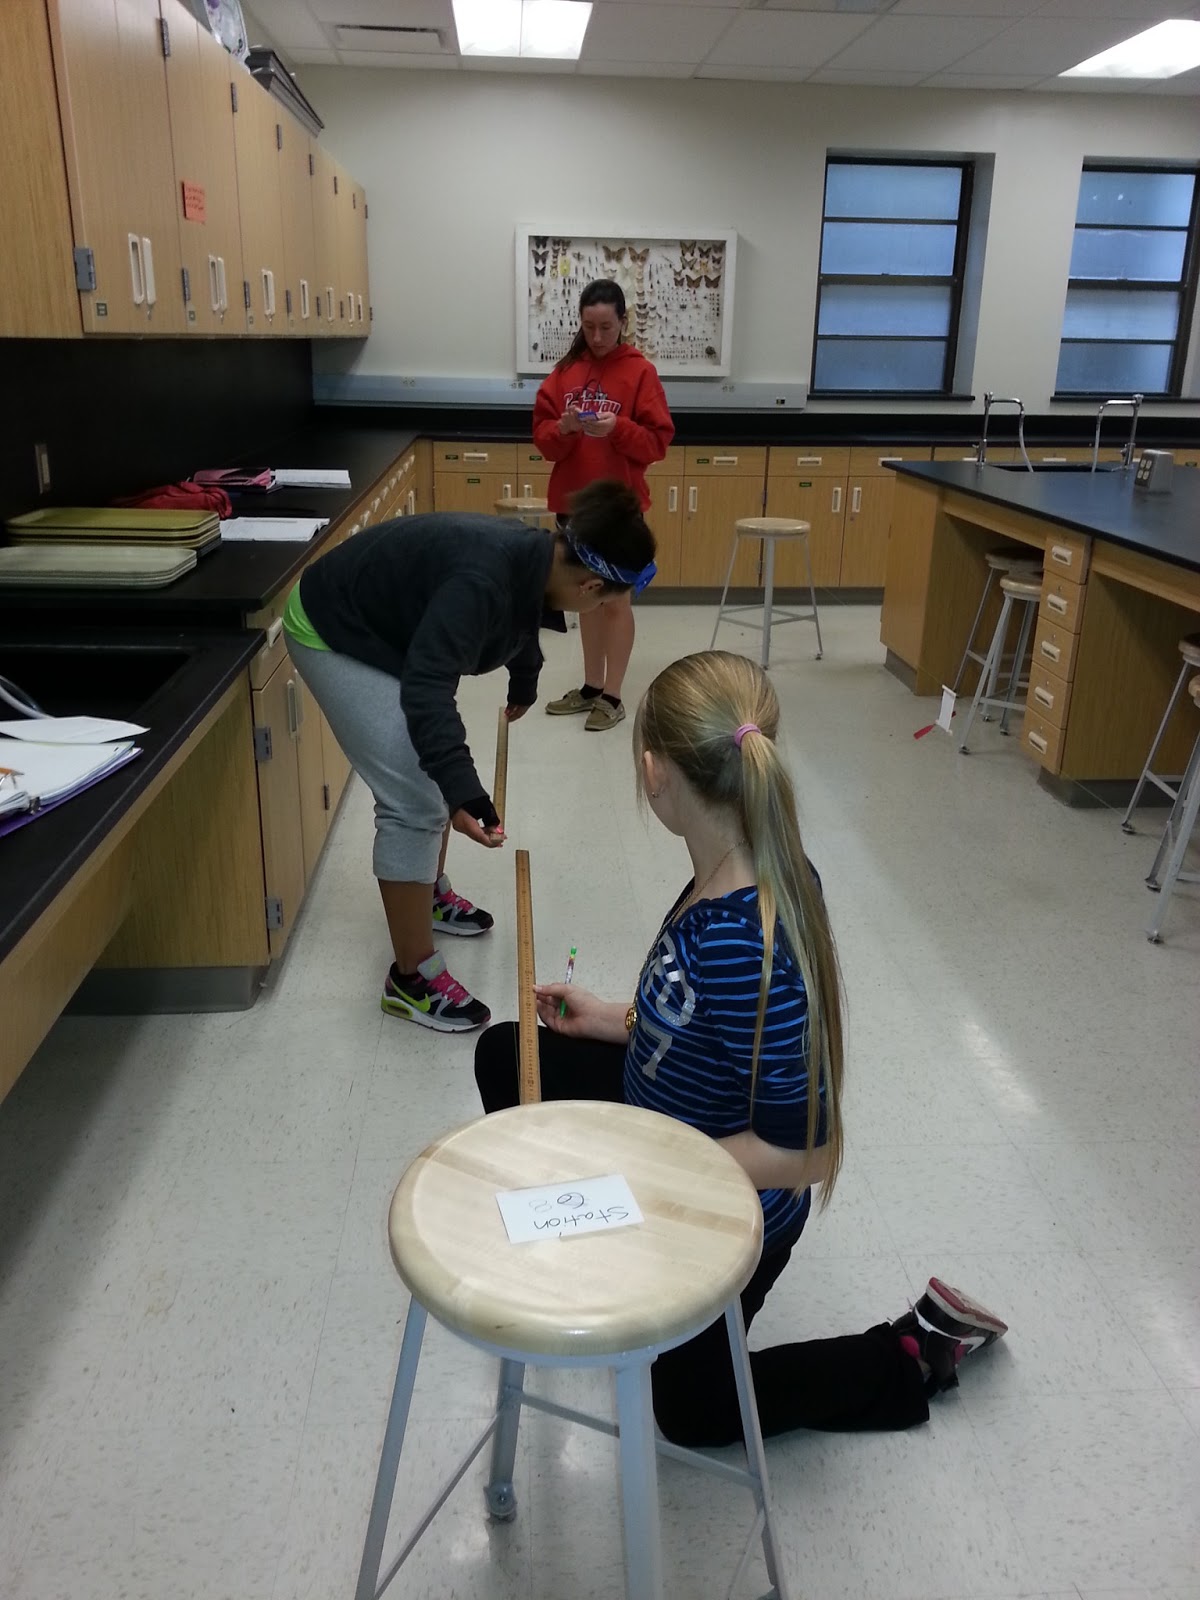
The students calculated the speed of Hot Wheel Cars and made a Speed Graph (Distance over Time Graph) of their data. 


Air Trolley Lab

April 15th

Testable Question:  How will the number of winds of the propeller affect the distance the air trolley moves?


Electromagnet Lab

April 4th

Testable Question:  How does the number of coils wrapped around a nail affect the strength of the electromagnet (measured by the number of paper clips picked up)?


We found out that the more coils wrapped around a nail, the stronger the electromagnet becomes. 

The students graphed their results and wrote a power conclusion about the lab. 


Magnetic Strength Lab

April 2nd

Today the students tested the magnetic strength of one magnet compared to multiple magnets. 

Testable Question:  How does the number of magnets affect the strength of the magnet(s) as measured by how many paper clips are picked up?


We found that the more magnets stacked, the more paper clips that will be picked up (the strength of the magnet(s) increase).

Magnetism

April 1st

Given a "Bag O' Stuff" the students first tested random materials to see which had magnetic properties.

Second, the students got a bar magnet and observed the magnetic field around a magnet using iron filings.


Saturday, May 11, 2013

Making a Filament

March 15th

We talked about a filament and how that is the wire that lights up an incandescent light bulb. We also discussed and analyzed advantages and disadvantages of using LEDs, Compact Florescents and Incandescent light bulbs.

Using nichrome wire, we made filaments and watched them glow.

You can see the wire in the middle glowing a reddish/orange hue.  


See the orange glow in the middle of the picture. 

Friday, May 10, 2013

Batteries

March 14th

In the beginning of class, we discussed the advantages and disadvantages of parallel and series circuits.

We talked about batteries and the necessary parts of a battery and how it works.
1. An electrolyte
2. a cathode (metal)
3. an anode (metal)

Next we attempted to make different kinds of batteries and read the amount of volts the batteries produces with a voltmeter.

1. Lemon batteries
2. Coke batteries
3. Vinegar batteries
4. Potato batteries

We connected potato batteries to turn on a light bulb. Unfortunately we didn't get it to light up. According to the voltmeter we produced 2.5 volts, which should be enough to light up the light. 

Static Discharge

March 7th 

Static discharge is the release of static electricity when two objects come into contact. Objects are left neutral after a discharge.

We watched videos of different electrostatic generators.
1. Wimshurst Machine
2. Van de Graaff generator - We watched a video of the largest Van de Graaff generator in the world.

Then each group experienced static discharge (a shock) with an electrophorus. Each time you pick up the handle (styrofoam cup) with the pie pan, it re-builds up a charge. Each time you touch the pie pan, you get shocked again.


Static Electricity Lab

March 6th

Students designed a lab to explore static electricity. Some students changed the surfaces (independent variable) they stuck the balloon to and rubbed/charged each balloon with wool. They measured how long the balloon stuck (dependent variable).

Other students changed the different things they rubbed/charged the balloon with (independent variable) and placed them on the same surface. They also measured how long it stuck (dependent variable).


Monday, April 15, 2013

Reflection Challenge

On Friday, February 22, we had a reflection challenge. There were six stations at which we had to reflect a laser beam with mirrors to a target. At each station the target was in a different place and required the mirrors to do something different. We had to use at least 3 mirrors to reflect the light to the target. Groups got more points if they added more mirrors. The laser pointer couldn't be moved from its original position.

The target for this station is under the table. "Under the Table"

The target for this station is on the table. "Nose Dive"

"Zig Zag" 

"Circle"

Friday, February 8, 2013

String Telephone Lab

In the beginning of class, the students used the string telephones to explore the best way to communicate with the telephones. The string must be tight or the vibrations do not pass all the way through from cup to cup.

After five minutes of exploration, the students came back together in groups and designed an experiment to test. Groups decided which variable (independent variable) to change. Many groups choose to test which type of string works the best: regular string, yard, or fishing line. Other groups tested to see which cup works the best in the string telephone: stryofoam, paper, plastic, dixie, or tin can. Other groups tested string length to see if a shorter length allows you to hear the best.


In the back of the room, I had glasses full of different levels of water. The students made music by wetting their fingers and rubbing around the rim of each glass. We learned that the more water the glass has, the deeper or lower the pitch created.


Tuesday, February 5, 2013

The Best Thermos...

These two thermos were the best insulators. The best working thermos had a lid that went down into the water. The air in a thermos can help cool down the water faster. Without the air inside the thermos to circulate and cool off the water, the hot water can better maintain its temperature.

This thermos only lost 4 degrees Celsius. 


 This thermos lost a total of 3 degrees Celsius.

Saturday, January 26, 2013

Making Ice Cream!

First, the students went down an assembly line pouring all of the ingredients into a bag. Next, the students put the ingredients inside a another bag of ice and rock salts.


Next, the students had to shake the ice cream for about 10 minutes for it to freeze. Luckily, the salt lowers the freezing point of the ice making it much colder, freezing the ice quicker.


 During lunch Mr. Rheinecker and Mrs. Hardin came down to the lab to make ice cream.


 We measured the temperature of the melted salty ice after the ice cream froze and it ended being  negative 12 degrees Celsius (10.5 degrees Fahrenheit).


We had many great toppings for our ice cream!

Ice & Salt

Today we put canned soda in two different coolers of ice. One cooler had rock salt added to the ice, and the other just had ice.

Testable Question: How does adding salt to ice affect the temperature of soda after 30 minutes?

We took out a soda from each cooler after 10, 20, and 30 minutes. Once the students measured the temperature of their soda, we recorded it on our table, and they could drink their soda.


Our results:

The soda in the salty ice was colder after 30 minutes!

Thermal Energy - Shaking Sand

In this lab, we wanted to see if adding kinetic energy to sand by shaking it would increase the temperature of the sand.

The students shook sand for 1 minute intervals for a total of 5 minutes. After each minute, they quickly opened the container and measured the temperature to see if it was affected compared to the starting temperature.


Measuring the temperature

shaking sand

measuring temperature

Shaking sand!!!

Measuring temperature and sand shaker in the background.